- Access the Driven Clutch:
- Depending on your golf cart’s design, you may need to remove parts like the seat, engine cover, or access panel to reach the driven clutch.
- Remove the Belt:
- Locate the belt that connects the primary clutch (driver clutch) to the driven clutch. You may need to loosen any tensioning mechanism or remove a cover to access the belt.
- Carefully slide the belt off the driven clutch pulley.
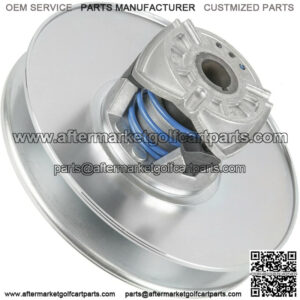
- Remove the Driven Clutch:
- The driven clutch is typically held in place by bolts or screws. Use your socket wrench set to carefully remove these fasteners.
- Gently wiggle and pull the driven clutch off its shaft.
- Install the New Driven Clutch:
- Position the new driven clutch on the shaft in the same orientation as the old one.
- Insert and hand-tighten the mounting bolts/screws.
- Reinstall the Belt:
- Slide the belt onto the driven clutch pulley. Make sure it’s properly seated and aligned.
- Tighten the Belt:
- If your golf cart has an adjustable tensioning mechanism for the belt, follow the manufacturer’s guidelines to adjust the tension properly.
- Reassemble:
- Reattach any parts or panels you removed to access the driven clutch.
- Battery Reconnection:
- Reconnect the golf cart’s battery.
club car golf cart driven clutch
how to remove driven clutch on ezgo golf cart